Welcome to S3 UI
Connect to AWS S3, MinIO, Cloudflare R2, Supabase, or any S3-compatible storage.
Where To Get These things? See Demo
Connect to AWS S3, MinIO, Cloudflare R2, Supabase, or any S3-compatible storage.
Where To Get These things? See Demo
S3-UI turns any S3-compatible bucket into a polished cloud storage workspace. Connect once, then browse folders, upload files, preview documents, and manage objects — without touching the AWS console.
VS Code-style explorer
Sidebar tree, breadcrumbs, list and grid views, and a resizable layout built for real folder navigation.
Works with your provider
Amazon S3, Supabase Storage, Cloudflare R2, MinIO, and any other S3-compatible endpoint.
Full file operations
Upload, download, create folders, delete, preview, search, and inspect file details from one interface.
Your keys stay in your browser
Credentials are saved only in local storage on your device — never on our servers.
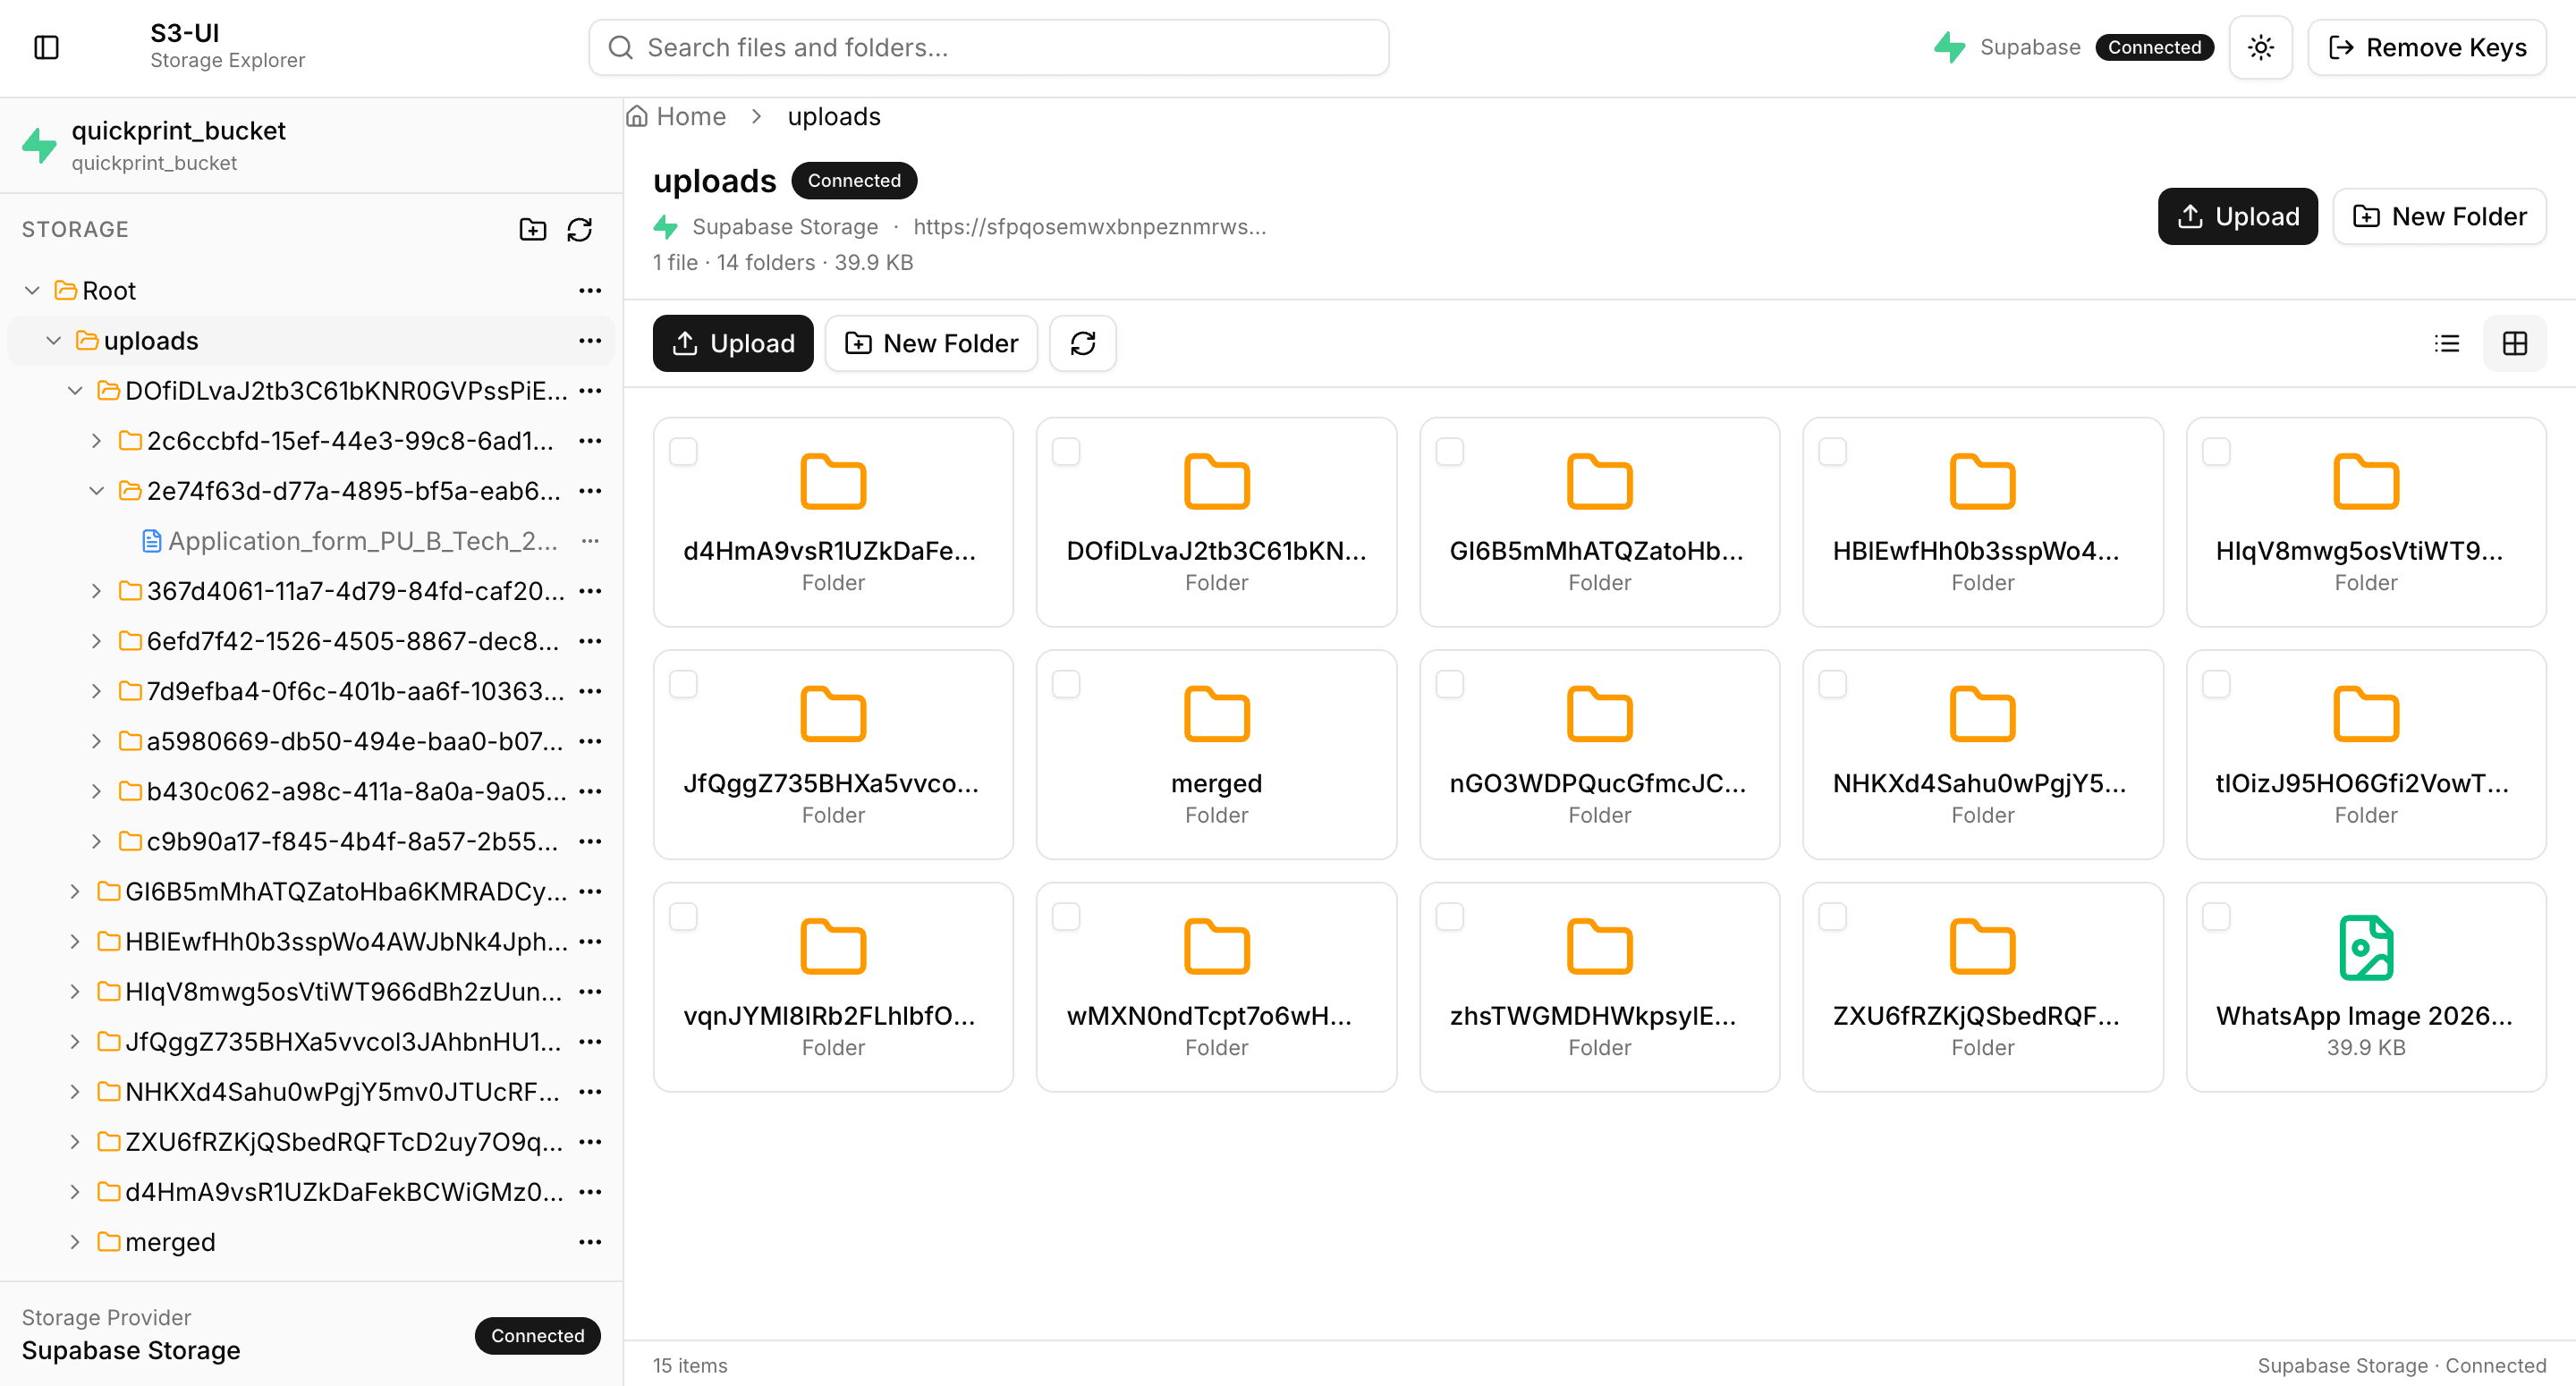
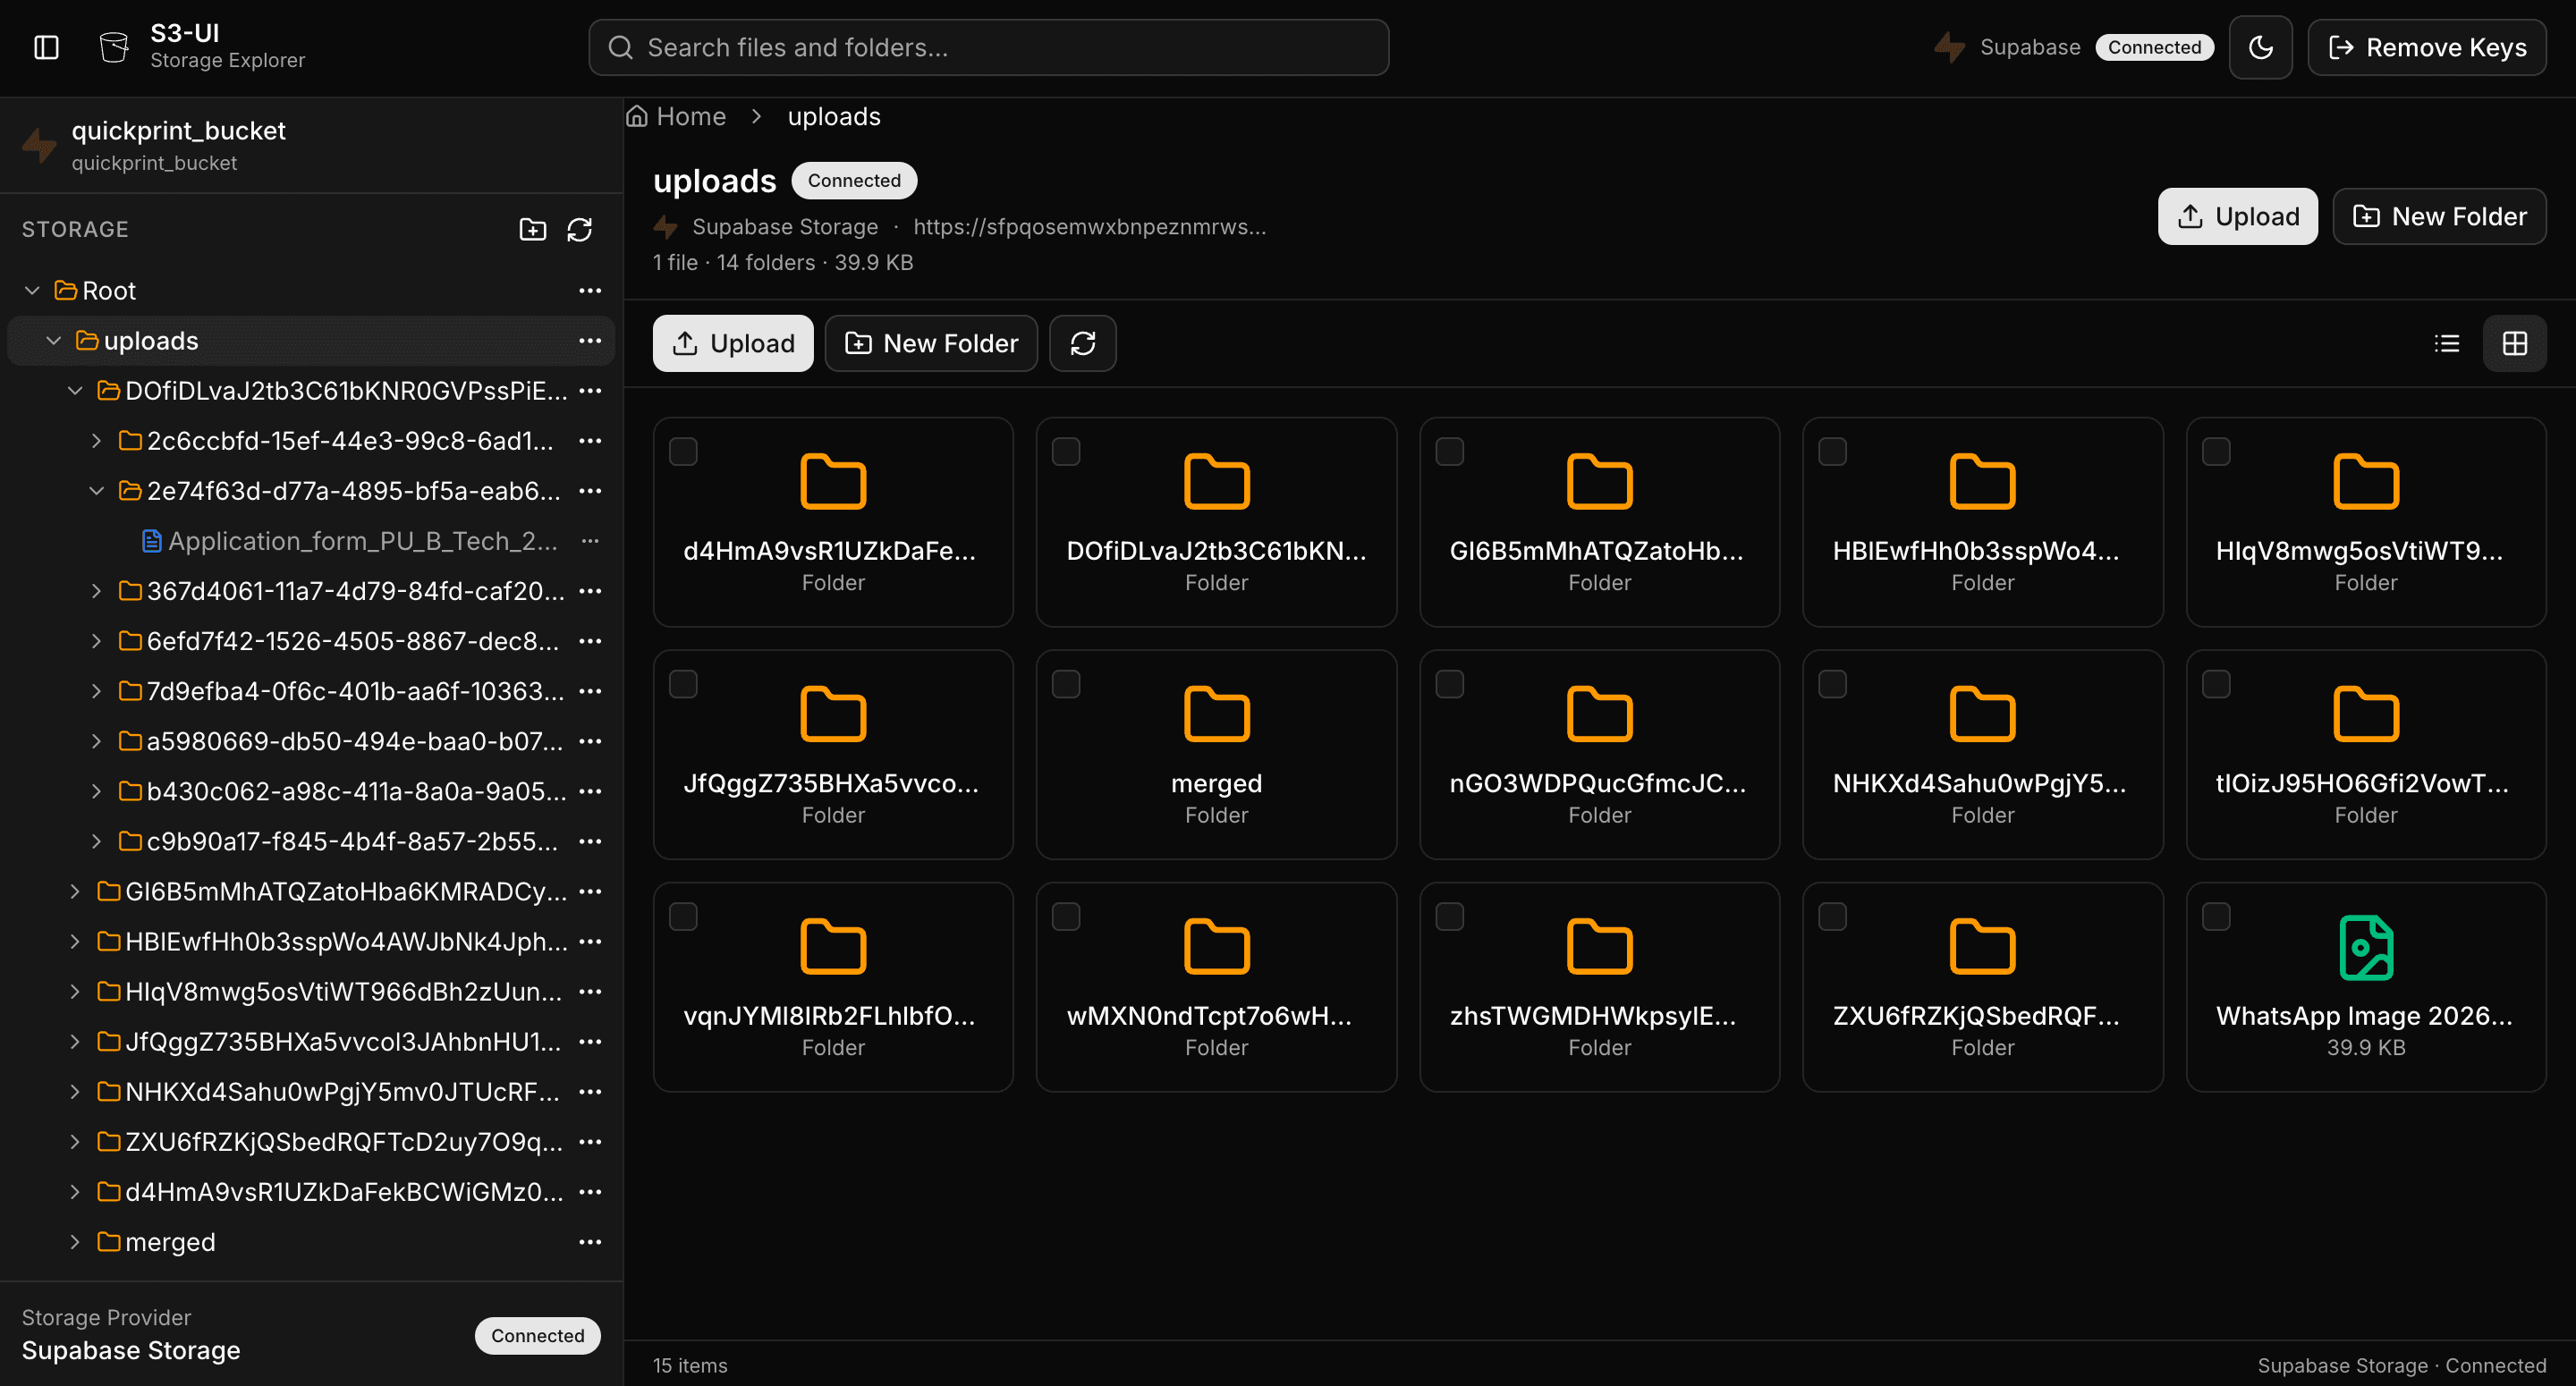
This UI works with any S3-compatible storage. Leave the endpoint empty for AWS S3, or fill it in for other providers.
Bucket Name: erp-storage
Access Key: minioadmin
Secret Key: minioadmin
Region: eu-north-1
Endpoint: http://localhost:9000
Bucket Name: my-bucket
Access Key: <R2 access key>
Secret Key: <R2 secret key>
Region: auto
Endpoint: https://<account_id>.r2.cloudflarestorage.com
Bucket Name: my-bucket
Access Key: <project ref>
Secret Key: <service role or s3 key>
Region: us-east-1
Endpoint: https://<project_ref>.supabase.co/storage/v1/s3
The UI auto-detects your provider from the endpoint and shows the matching branding on the bucket page.
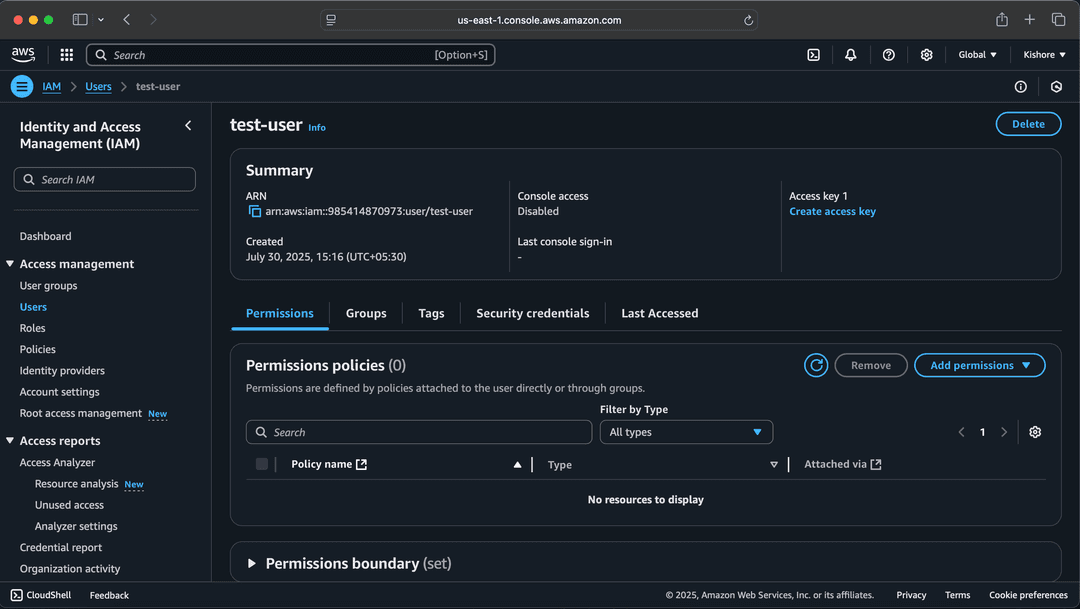
You must create a user to generate access keys.
Give any username.
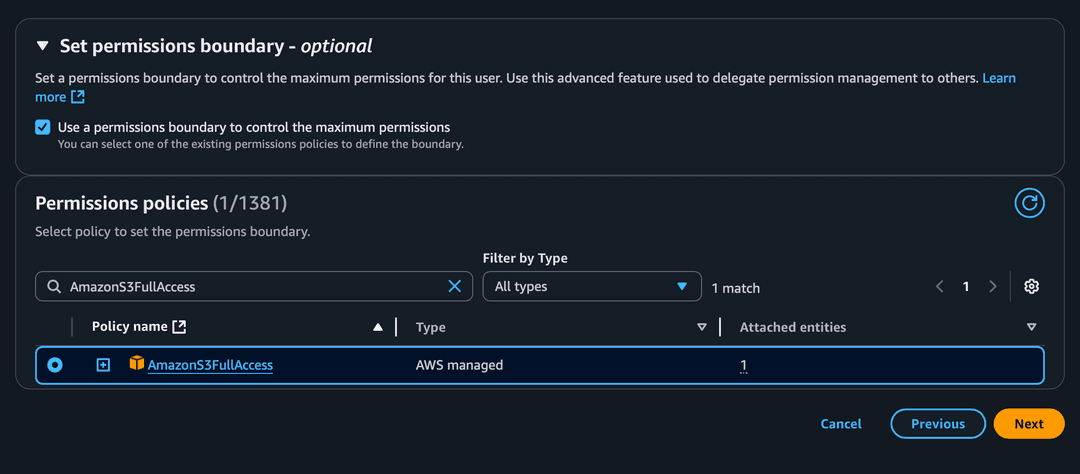
Add AmazonS3FullAccess.
Get access + secret key.

Open user → Create Access Key.
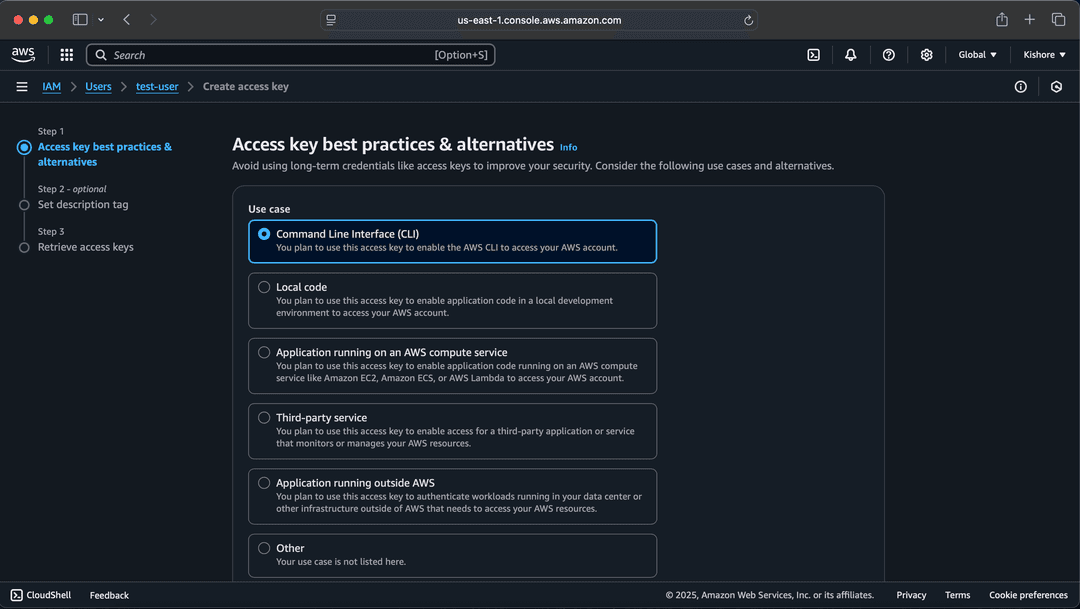
Bucket name must be unique.
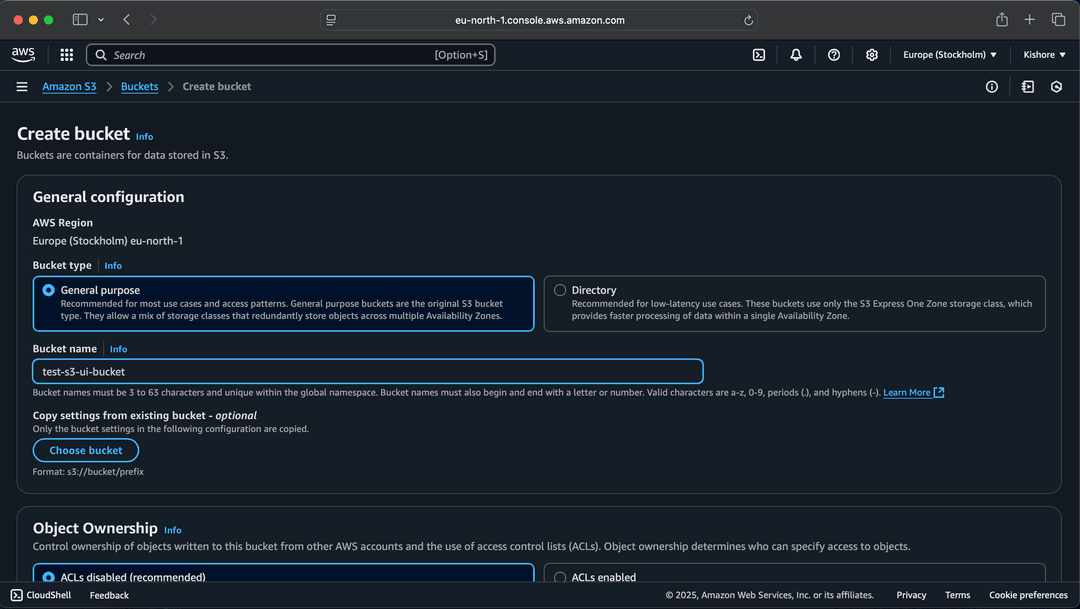
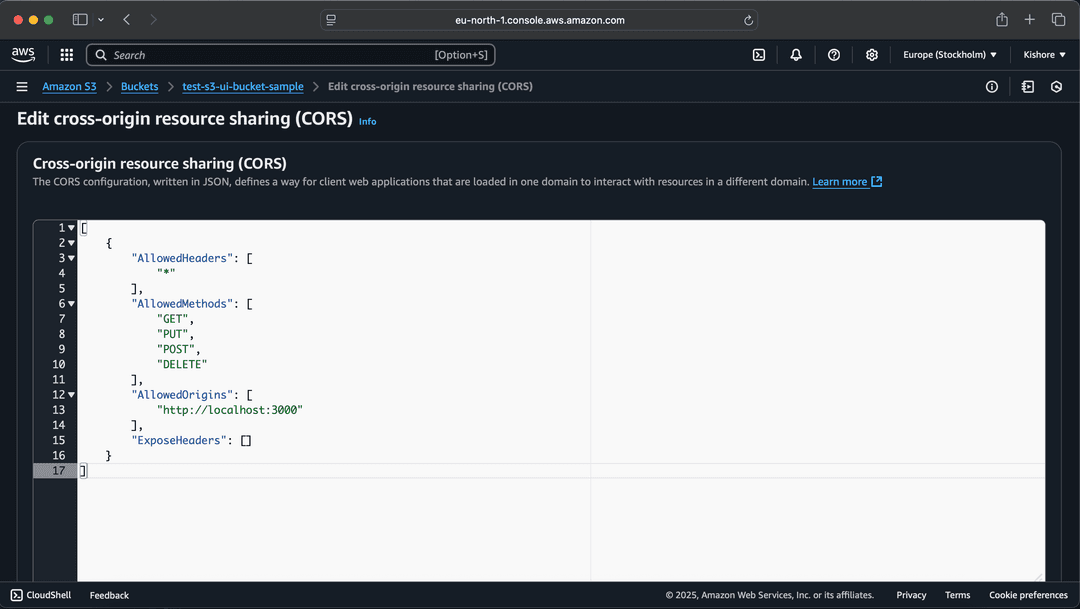
Disable block public access & set CORS.

Paste this CORS config:
[
  {
    "AllowedHeaders": ["*"],
    "AllowedMethods": ["GET", "PUT", "POST", "DELETE"],
    "AllowedOrigins": ["https://s3-ui.kishore-sv.me/"],
    "ExposeHeaders": []
  }
]
{
  "Version": "2012-10-17",
  "Statement": [
    {
      "Effect": "Allow",
      "Principal": "*",
      "Action": "s3:GetObject",
      "Resource": "arn:aws:s3:::yourbucketName/*"
    }
  ]
}